When it comes to Easter, egg decorating is somewhat of a tradition.
And if you haven’t given it a go, here’s a how-to on dyeing, painting and marbling hard boiled eggs.
The first step may be simple but place the eggs in a pot of water and bring to the boil on the stove. Then let them simmer for ten minutes and cool.
Now it gets to the creative part.
Let’s start with dyeing eggs. Fill some cups halfway with hot water, a teaspoon of vinegar and a teaspoon of food colouring – repeat with all the colours you want to use.
Carefully place the egg in the coloured water and leave for five minutes – when it’s done, you’ll have one completely coloured egg.
If you want to go one step further, use string, tape or elastic bands to create patterns.
Should marbling your eggs take your fancy, here’s two ways to try.
*Using shaving cream or whipped cream (if you’d like to eat your eggs).
Place the eggs in a bowl of vinegar and leave for 20 minutes.
Using a large dish, fill with a layer of shaving cream and add some drops of food dye – even divide the dish into two to four sections and do multiple colours.
Using a skewer, swirl and marble the colours together, then roll the egg gently over the surface of the shaving cream and once covered, place on some paper towel for 20 minutes.
Wash off excess shaving cream using a bowl of water.
* Using oil
In a glass bowl, add one cup of hot water, a teaspoon of white vinegar and five to ten drops of food colouring (be sure to use a light colour for the base of the egg).
In another bowl, one cup of water with about 20 drops of food colouring and a tablespoon of vegetable oil.
When the egg is completely dry, place it into the bowl of oil mixture with a spoon and gently roll.
Take it out when marbled and dry on paper towel.
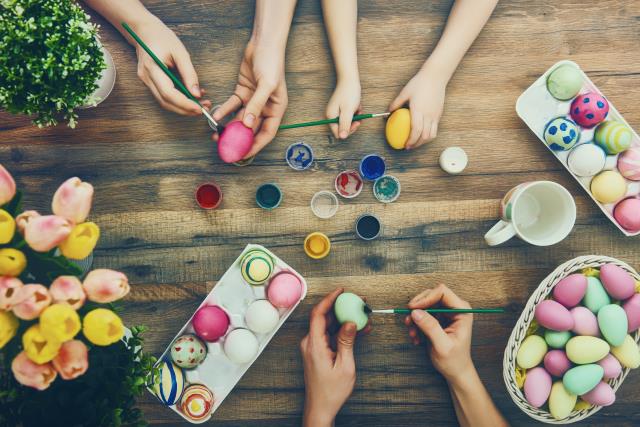
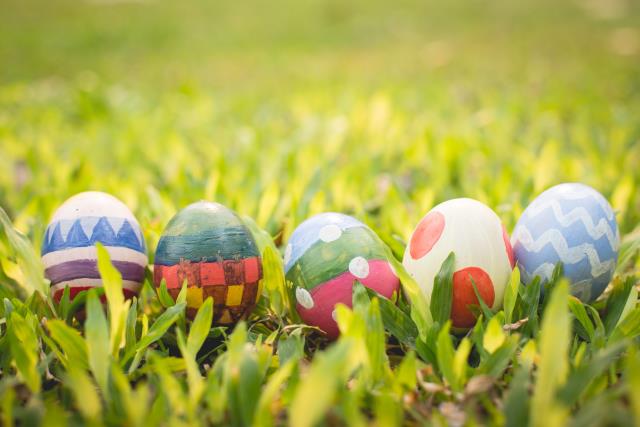
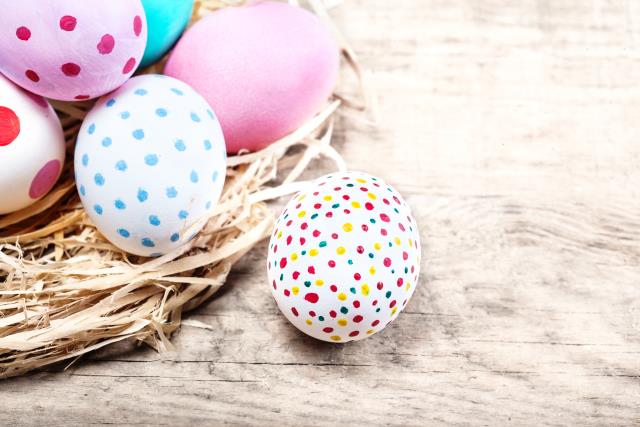
Other options include using watercolour paint or acrylic paint to make patterns and designs of all sorts.
Don’t forget to wear old clothes or an apron and maybe gloves too, it can get messy.

